I have been busy with weddings this year, so got behind with posting. However, my goal is to begin posting each week, with photos of what I am working on.
My oldest son got married in March, my parents celebrated their 40th Wedding Anniversary in May for which my siblings and I hosted a small wedding for them to renew their vows, and my youngest son is getting married next month, in October. So I have been busy with helping, including helping with favors and decorations for wedding number one, making all of the favors and decorations for wedding number two, and creating rsvp cards and a banner for wedding number three (in addition to shopping for vintage items which will be props).
I will be posting photos of some of the above items this week, and soon will begin posting items for sale in my etsy shop. I also have a facebook page, which is Eclectic By Design, with my name in there somewhere. :)
Monday, September 24, 2012
Monday, July 9, 2012
More Alcohol Ink on Ceramic


VBS Craft, Alcohol Inks On Ceramic Tile


Wednesday, January 25, 2012
Craft Class
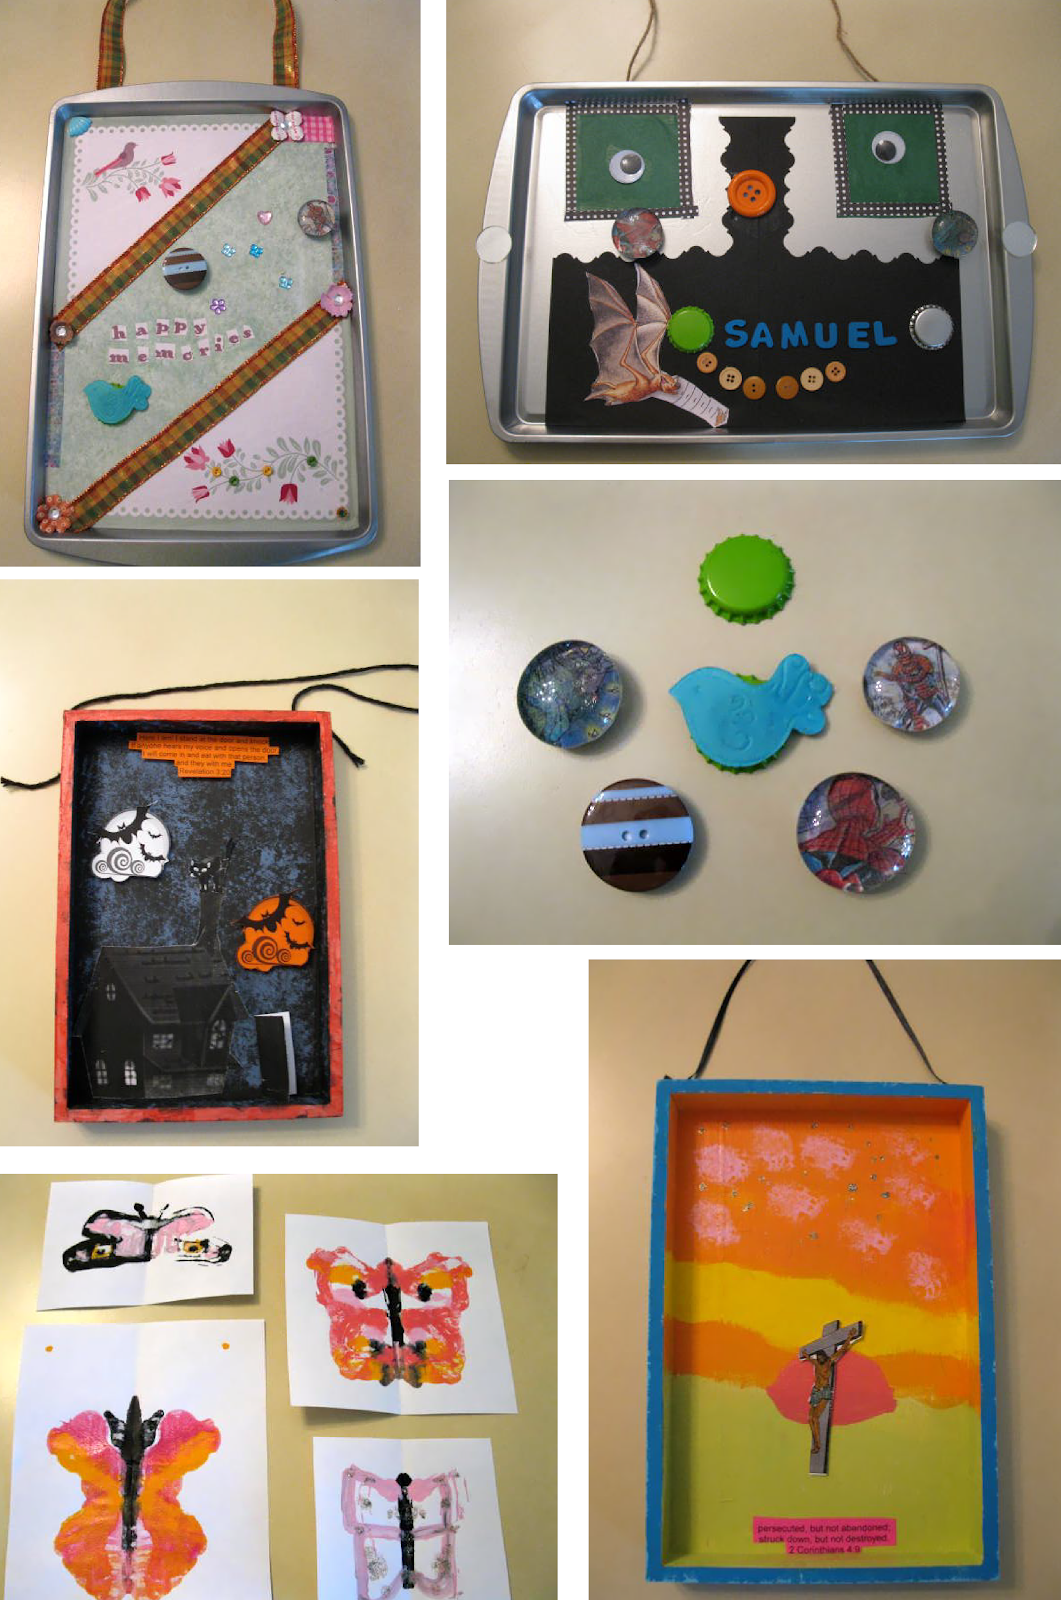
Catching Up

Thursday, January 12, 2012
This is a no-sew purse I created from a jean pocket as a birthday gift.
To make one, just cut a pocket from an old pair of jeans (if you don't have a pair - pick some up from a thrift store), and add embellishments with a hot glue gun.
For this purse, I added purple ribbon topped with sequin trim, pink leather flowers, clear gems, silver braided cord embellished with a bow, charm, and sandal buttons (back cut off first), pink ribbon to the raw edge on the top back, and lavender ribbon for the "handle".
To make one, just cut a pocket from an old pair of jeans (if you don't have a pair - pick some up from a thrift store), and add embellishments with a hot glue gun.
For this purse, I added purple ribbon topped with sequin trim, pink leather flowers, clear gems, silver braided cord embellished with a bow, charm, and sandal buttons (back cut off first), pink ribbon to the raw edge on the top back, and lavender ribbon for the "handle".

You can also use jean pockets as refrigerator magnets to use for your shopping list. Just decorate with trims/findings you have on hand, glue a magnet on the back (magnetic strip, or several small round magnets), then insert pen/pencil and VOILA! You have a fun shopping list holder!
Monday, December 26, 2011
Wedding Projects
During January I will be working on origami wedding favor boxes, as well as origami flower balls as part of the decorations for my son and daughter-in-law's wedding, so watch for photos. I can post instructions if anyone is interested.
Subscribe to:
Posts (Atom)